The Ravens were 1 for 4 in red zone efficiency in their week 17 matchup against the Bengals on the road. A contributing factor was Mike Zimmer’s defense disguising their pre-snap look causing Flacco to make an incorrect pre-snap read as well as Flacco forcing passes into tight coverage.
Disguised coverages forcing incorrect reads
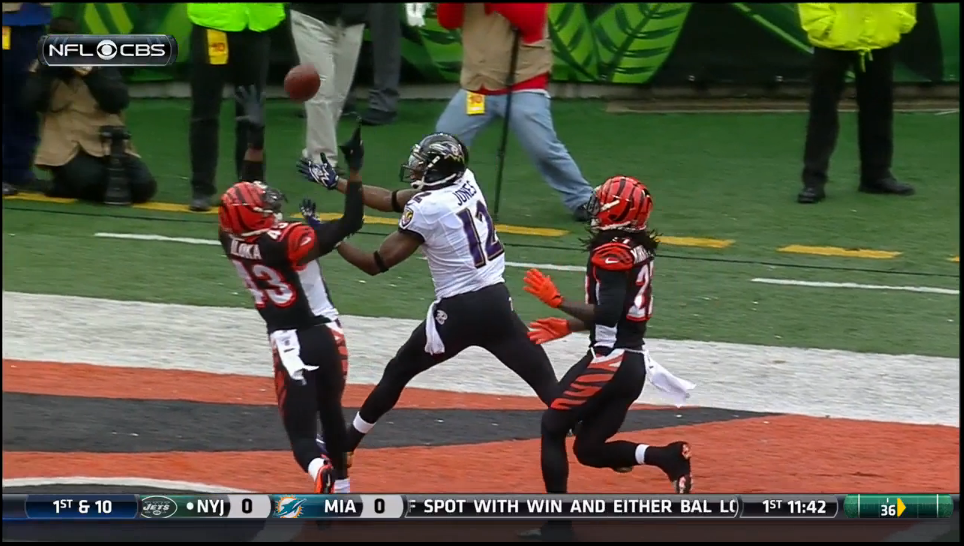
The Bengals were able to effectively disguise their coverages causing Flacco to make the incorrect pre-snap read. In the Ravens first red zone opportunity, Flacco faced a 3rd and 9 on the Cincinatti 20 yard line. The Bengals disguised their cover-2 defense by lining up in a cover-0 or cover-1 formation.

Let’s examine Flacco’s thinking with the coverage showing cover 0 or cover 1.
In a cover 0 formation, the coverage is man to man with no safety help. Since the S George Iloka was lined up over the TE Dennis Pitta, Flacco read that WR Jacoby Jones has one on one coverage with the CB Dre Kirkpatrick. Kirkpatrick was in press man coverage since he was lined up close to the LOS opposite Jones. With Jacoby Jones’ speed, all Flacco had to do was throw the ball for an easy score.
In a cover 1 formation, the coverage is man to man with safety help up top. In this formation, there is only one S who would have had to cover the entire field by himself. With a single S playing center field, Flacco would still be able to throw the ball to Jones with the belief that the S would be unable to rotate over to help the CB in time.
Unfortunately for Flacco, the Bengals were in a cover 2 man formation. In a cover 2 man formation both safeties play a deep zone coverage which essentially double teams the outside receivers. The best way to attack a cover 2 man coverage is in the middle of the field with the TE or Slot receiver.
With the incorrect pre-snap read, after the ball was snapped Flacco immediately throws to Jones without performing a post snap read. Flacco did not notice that the S George Iloka immediately moved towards the sideline as the ball was snapped.

Had Flacco performed his post snap read and went through his progressions, he would have seen that the TE Dennis Pitta had gained leverage on the LB Vincent Rey and could have made the first down or have possibly scored a touchdown. Instead the S Iloka provided help to Kirkpatrick and broke up the pass intended for Jones.
On the third red zone opportunity Flacco again misreads the defensive formation. The Bengals line up giving a cover 0 look. On this 3rd and 9 play in the red zone, in Flacco’s pre-snap read, the safety Iloka was perceived to be playing 15 yards off of the TE Dennis Pitta. Flacco determined that Pitta would be open on his out route. Once the ball was snapped, anticipating the blitz, Flacco throws the ball to Pitta for a successful completion for a 6 yard gain.
If Flacco had made the correct pre-snap read of the Bengals in a cover 1 defense, he would have been able to go through his progressions (since there was no blitz) starting with the deep routes first. This would have allowed him to see that WR Marlon Brown was open and would have been able to make the first down since the safety was playing too deep.

Forcing throws into tight coverage
On the Ravens second red zone opportunity, Flacco forces a throw to the TE Dennis Pitta in double coverage. The Bengals were lined up in a cover 2 defense. The strengths of a cover 2 are that it allows for leverage on both outside WRs. TE Dennis Pitta was lined up as an outside receiver and runs a route along the back of the endzone where the CB and S can provide coverage.

With a short field to work with, a shallow crossing route is a great way to take advantage of the linebackers dropping into coverage. On the 3rd and 4 play, the Ravens run a Hi-Lo crossers route where WR Marlon Brown and HB Bernard Pierce cross in the middle leaving Pierce running a flat route uncovered. The closest defender that can make a play is S George Iloka, but he is so deep in covering the WR, he would not have been able to have made a play.


Nice breakdown, although I think that the pass to Pitta instead of Brown was the safer call. What I probably fail to realize on these plays is how tight the window is for 'success'. It seems like a lot of passes are threading the needle in ways that don't even seem possible when watching on TV. The all 22 look gives a lot better perspective for the timing and options a qb has.
ReplyDeleteI agree that the pass to Pitta instead of Brown was safer, but he could have made the throw to Brown with low risk. Here is an end zone view after the throw to Pitta. There was a throwing lane to Brown.
Deletehttps://lh5.googleusercontent.com/-99zrwMiUAS4/UsbZJCZWJCI/AAAAAAAA3LU/Saem2Hk9QQw/s144/EndzonePasstobrown.jpg
sorry... here is a better pic
Deletehttps://lh5.googleusercontent.com/-99zrwMiUAS4/UsbZJCZWJCI/AAAAAAAA3LU/Saem2Hk9QQw/s800/EndzonePasstobrown.jpg
This comment has been removed by the author.
ReplyDeleteYour film and accompanying explanations make the red zone issues a lot clearer. Thank you for helping to education a layman like myself!
ReplyDeleteThanks for the compliment. You aren't a layman. The TV broadcast doesn't go into a lot of detail, so you wouldn't see this unless you had access to the coaches tape. Phil Simms even commented that there were no open receivers on the throw to Pitta in the end zone when the film shows Pierce was open. ....and he is a super bowl winning QB!!
Delete